


Check valve clearance
With the valve cap removed, measure from the top of the valve stem to the nearest part of the brake caliper. Check the minimum gap over a full wheel rotation and verify clearance with the brake both released and applied.
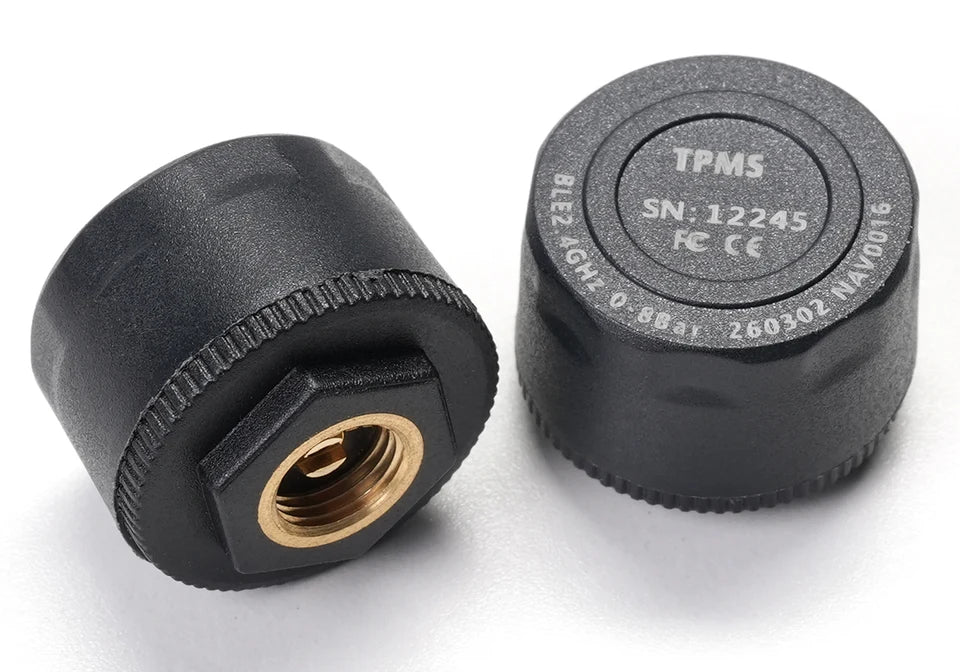
The sensor adds 15.8 mm above the valve. If clearance is under 20 mm, leave the sensor off that wheel. Contact with the caliper can damage the sensor and cause sudden air loss.
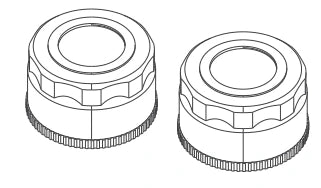
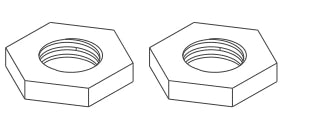
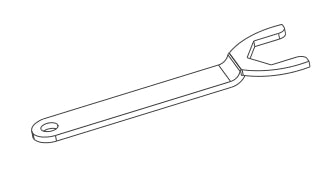
What’s in the box
Prepare the valves
Remove the valve caps
Park the motorcycle and remove the original caps from both tire valves. Have the supplied wrench ready.
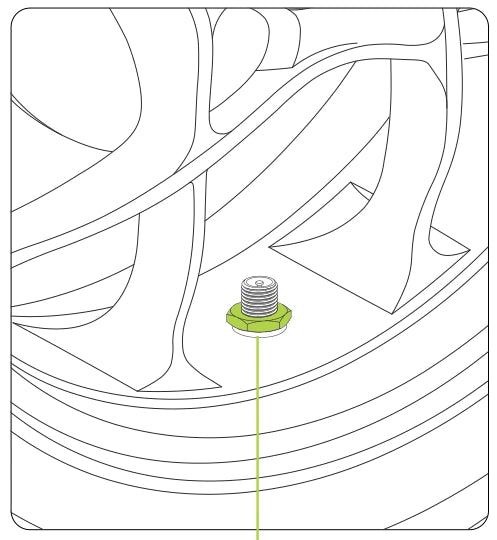
Thread on the nuts
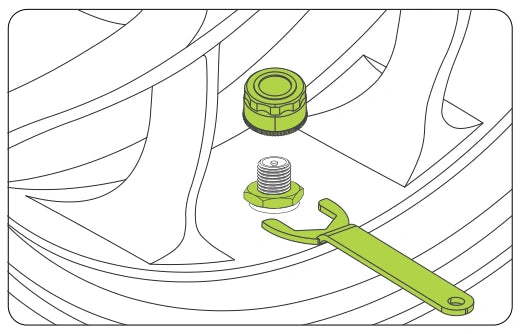
Turn one anti-theft nut down to the base of each valve stem by hand. Leave both nuts loose and both sensors off until the display prompts you.
Pair one wheel at a time
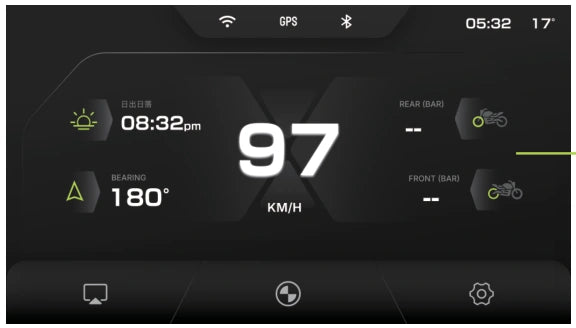
Either sensor can go on either wheel. Start with the front wheel so the display assigns each reading correctly.
Start pairing on your R7M or R7X
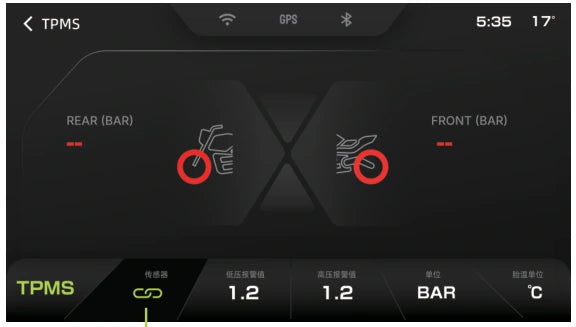
On the home screen, tap Tire Pressure. On the tire pressure page, tap the pairing icon in the bottom bar.
Fit the front sensor
When the front wheel icon flashes, screw one sensor onto the front valve. Wait for the front tire reading to appear.
Fit the rear sensor
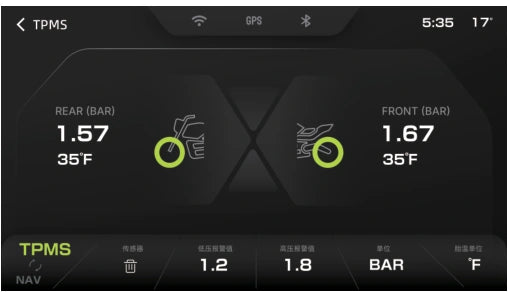
When the rear wheel icon flashes, screw the second sensor onto the rear valve. Wait for the rear tire reading.
Secure both sensors
Once both readings appear, use the supplied wrench to tighten each anti-theft nut against its sensor.
Read the tire display
Open Tire Pressure to view the pressure and temperature for each wheel. The wheel labels identify which tire a reading belongs to. The display can alert you to low or high pressure, rapid pressure loss, or high temperature.
Specifications & battery
- Sensor size
- Ø 21.5 × 15.8 mm high
- Pressure range
- 0–8 bar
- Measurement accuracy
- 0.01 bar
- Battery life
- Approximately 1 year
- Replacement battery
- CR1632 coin cell
Need help with your sensors?
For answers to questions about your NAV0016 sensors, including how to install, pair, and use them, visit the RiderNav Knowledge Base.
Visit the Knowledge Base ↗